Official visual references
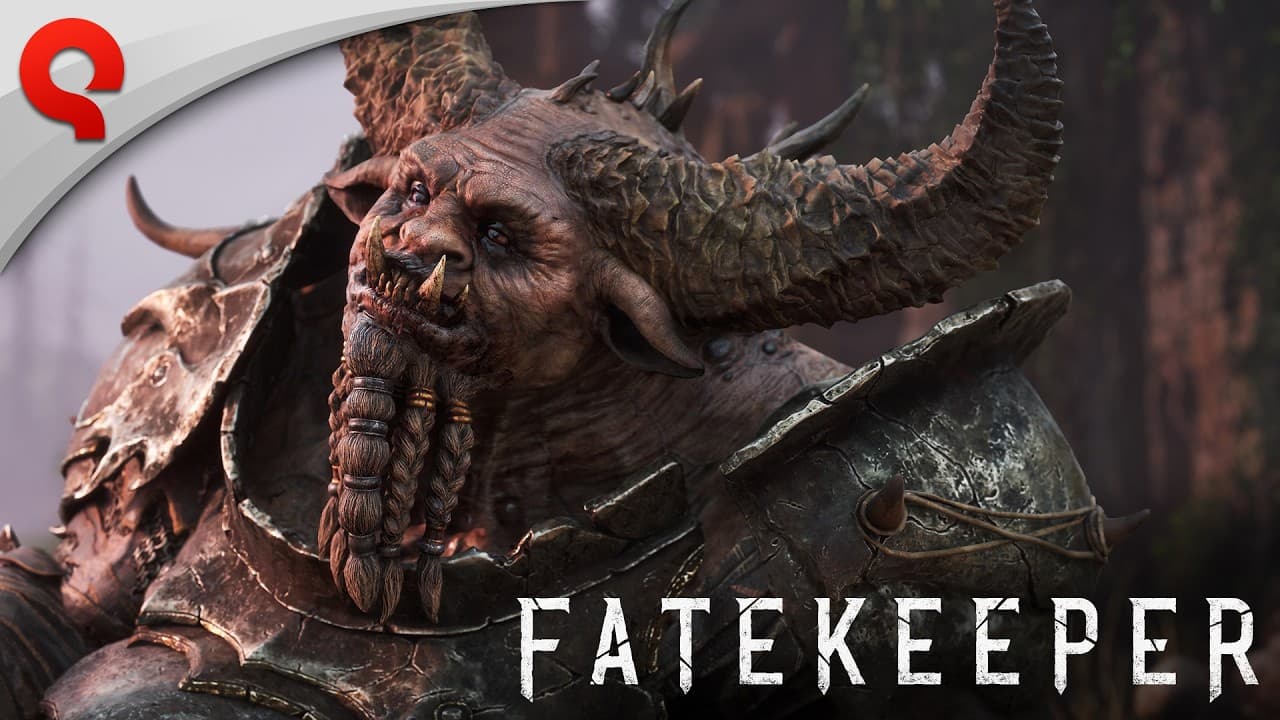
Screenshots and trailer frames are used as visual anchors for the guide. Gameplay stats, locations, drops, boss routes, and build rankings remain labeled until they can be verified in the playable Early Access build.


Launch-window first-hours plan
A true first-hours route needs direct play. Until then, use this as a first-session checklist: what to watch, what to test, and which decisions to postpone until the systems are clear.
Start with controls, then combat safety, then build identity, then exploration. That order mirrors how players actually learn a new action RPG.
| Phase | Player goal | Guide update needed |
|---|---|---|
| 0-15 minutes | Confirm controls, settings, readability | Settings notes |
| 15-45 minutes | Learn enemy timing and weapon reach | Combat basics |
| 45-90 minutes | Try spells, relics, and upgrades | Build starter notes |
| 90+ minutes | Track routes, locks, and side spaces | Map and world notes |
What to record while playing
If you track your own discoveries, record exact item names, upgrade costs, enemy names, area names, and screenshots of map or menu information. That information is more valuable than broad impressions.
Routes can change by patch. Early Access changes may invalidate upgrade costs, enemy placement, and route logic.
- Area names and transition points.
- Weapon and spell unlock names exactly as shown in-game.
- Upgrade material names and amounts.
- Enemy weaknesses only after repeatable tests.
- Patch version used for the route.
What new players usually need first
New players rarely need a lore encyclopedia in the first session. They need to know how combat pressure works, what to test before spending resources, how weapon reach changes safety, and how spells or relics might change a build.
Because Fatekeeper launches through Early Access, early learning advice stays flexible. Use the recommendations as habits and checkpoints, then replace them with exact routes once item names, upgrade costs, enemy names, and patch behavior are verified.
| Need | What to check | Why it matters |
|---|---|---|
| Survival | Spacing, defense, recovery, enemy windups | Keeps early deaths from becoming random |
| Damage | Weapon reach, attack speed, spell safety | Shows which tools fit your timing |
| Progression | Upgrade costs, relic effects, resource scarcity | Prevents early waste |
| Exploration | Locked doors, unusual rooms, hidden rewards | Finds systems that affect builds |
How reliable is this information?
This first-hours route guide separates confirmed information from hands-on findings. If a detail is not playable or testable yet, it is marked clearly instead of being presented as finished advice.
Exact stats, boss routes, hidden loot positions, drop rates, and final balance notes stay unverified until there is direct evidence from the playable version.
| Claim type | Evidence needed | Reader takeaway |
|---|---|---|
| Official facts | Steam and official site copy | Use now |
| Trailer analysis | Gameplay and announcement trailers | Label as analysis |
| Community findings | Player testing after Early Access unlocks | Do not publish as fact yet |
Sources and verification status
Confirmed details come from official, storefront, publisher, video, community, or media references. Exact gameplay data is held back until it has direct evidence from the playable build.