Official visual references
Screenshots and trailer frames are used as visual anchors for the guide. Gameplay stats, locations, drops, boss routes, and build rankings remain labeled until they can be verified in the playable Early Access build.
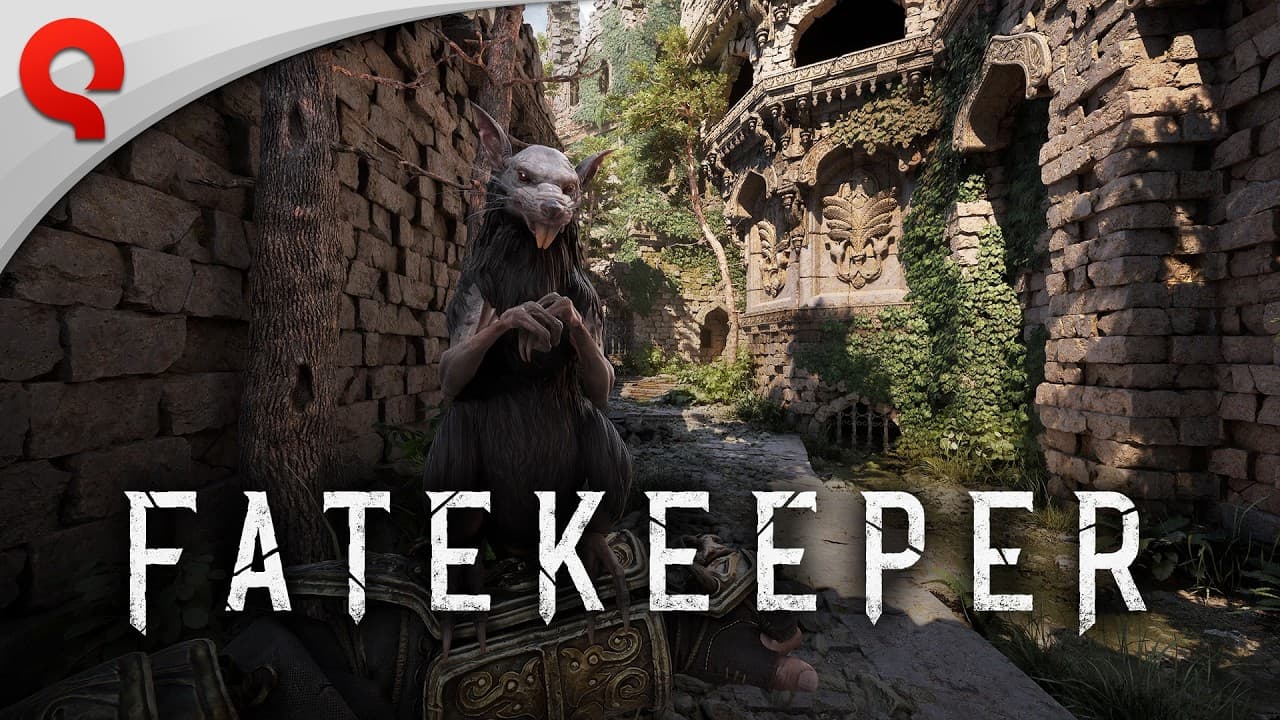


Official 8-Minute Gameplay Reveal
The THQ Nordic official gameplay reveal is the best pre-purchase combat reference. Watch it to see the full combat rhythm: melee timing, spell casting, blocking, dodging, and environmental interaction in action.
Pay attention to: swing recovery frames, enemy windup tells, spell cast animations, and how quickly you can chain attacks into blocks.
Combat fundamentals
The core combat question is not whether the game has swords and spells. It is whether those tools create meaningful decisions. Watch windups, reach, recovery, stagger, spacing, cast safety, and enemy resistance or weakness behavior.
That format helps both new and mid-game players. Beginners learn why they are losing trades. Build players learn which mechanics their builds need to exploit.
| Variable | Why it matters | Guide status |
|---|---|---|
| Reach | Determines safe punish distance | Needs testing |
| Recovery | Determines whether a swing can be punished | Needs testing |
| Stagger | Changes enemy pressure and build value | Needs testing |
| Cast time | Controls spell safety | Needs testing |
| Enemy pattern | Defines strategy more than raw stats | Needs testing |
Melee and magic roles
The best launch-window combat advice is to think in roles. Weapons create timing and commitment. Spells can add reach, burst, control, buffs, or area coverage. Relics and armor may change which tradeoffs are acceptable.
After launch, this becomes the parent reference for weapon, spell, relic, enemy, and build pages.
- Use melee when timing and spacing are clear.
- Use magic when range, control, or burst solves a specific problem.
- Use defensive tools to survive learning attempts.
- Use relics to strengthen the behavior your build already repeats.
What new players usually need first
New players rarely need a lore encyclopedia in the first session. They need to know how combat pressure works, what to test before spending resources, how weapon reach changes safety, and how spells or relics might change a build.
Because Fatekeeper launches through Early Access, early learning advice stays flexible. Use the recommendations as habits and checkpoints, then replace them with exact routes once item names, upgrade costs, enemy names, and patch behavior are verified.
| Need | What to check | Why it matters |
|---|---|---|
| Survival | Spacing, defense, recovery, enemy windups | Keeps early deaths from becoming random |
| Damage | Weapon reach, attack speed, spell safety | Shows which tools fit your timing |
| Progression | Upgrade costs, relic effects, resource scarcity | Prevents early waste |
| Exploration | Locked doors, unusual rooms, hidden rewards | Finds systems that affect builds |
How reliable is this information?
This combat mechanics guide separates confirmed information from hands-on findings. If a detail is not playable or testable yet, it is marked clearly instead of being presented as finished advice.
Exact stats, boss routes, hidden loot positions, drop rates, and final balance notes stay unverified until there is direct evidence from the playable version.
| Claim type | Evidence needed | Reader takeaway |
|---|---|---|
| Official facts | Steam and official site copy | Use now |
| Trailer analysis | Gameplay and announcement trailers | Label as analysis |
| Community findings | Player testing after Early Access unlocks | Do not publish as fact yet |
Frequently asked questions
Is Fatekeeper combat like Dark Messiah?
Fatekeeper has visible first-person melee and magic appeal for Dark Messiah fans, but exact physics, kick behavior, enemy reactions, and environmental combat depth remain unverified before direct verification.
Is Fatekeeper combat more like Skyrim or Dark Messiah?
The search demand sits between both comparisons: Skyrim-like first-person fantasy RPG interest and Dark Messiah-like melee combat interest. The final feel needs hands-on testing.
Does Fatekeeper have reactive combat?
Official positioning uses reactive combat language, but practical details like stagger, recovery, interruption, and enemy response need Early Access testing.
Does Fatekeeper have dismemberment or physics kills?
Do not treat dismemberment, advanced physics kills, or full environmental combat as verified systems until players can test them in the playable build.
Sources and verification status
Confirmed details come from official, storefront, publisher, video, community, or media references. Exact gameplay data is held back until it has direct evidence from the playable build.